

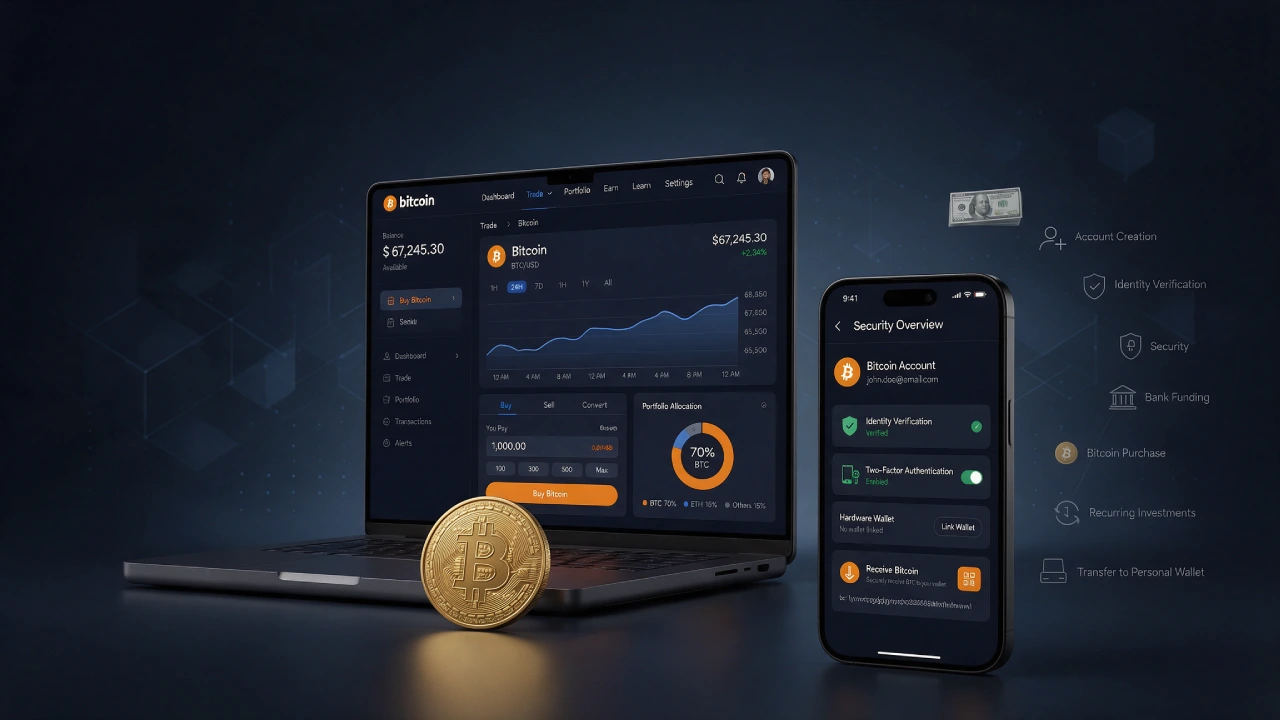
Most people who want to buy Bitcoin get stuck on the small questions. Which button do I press? Why is my deposit on hold? Am I paying too much in fees? This guide answers those questions in the order you’ll actually run into them.
If you live in the United States and want to use Binance.US, you’ll find the full process below, from opening the app to moving your coins into your own wallet. We’ll also show you where beginners lose money without noticing and how to avoid it.
The Quick Version
Short on time? Here’s the whole process in one table. Each step is explained in detail further down.
| Step | What You Do | Typical Time |
|---|---|---|
| 1 | Download the app or visit binance.us and register | 5 minutes |
| 2 | Confirm your identity with an ID and your SSN | 10 minutes to a few hours |
| 3 | Protect your login with an authenticator app | 5 minutes |
| 4 | Add dollars through your bank or a debit card | Instant to several business days |
| 5 | Place a buy order for BTC | Under 1 minute |
| 6 | Keep your BTC on the exchange or withdraw it to your own wallet | 10 to 60 minutes |
Who Can Use Binance.US
Binance.US is a US-based exchange that runs separately from the global Binance.com platform. Americans can’t legally open accounts on Binance.com, so Binance.US is the version built for you.
To open an account, you must:
- Be at least 18 years old
- Live in a state where Binance.US holds the required licenses
- Have a Social Security Number
- Own a valid government photo ID
State availability changes as licenses are granted or pulled, so check the current list on the Binance.US website before you download anything. It takes 30 seconds and can save you a frustrating dead end halfway through signup.
Step 1: Open Your Account the Right Way
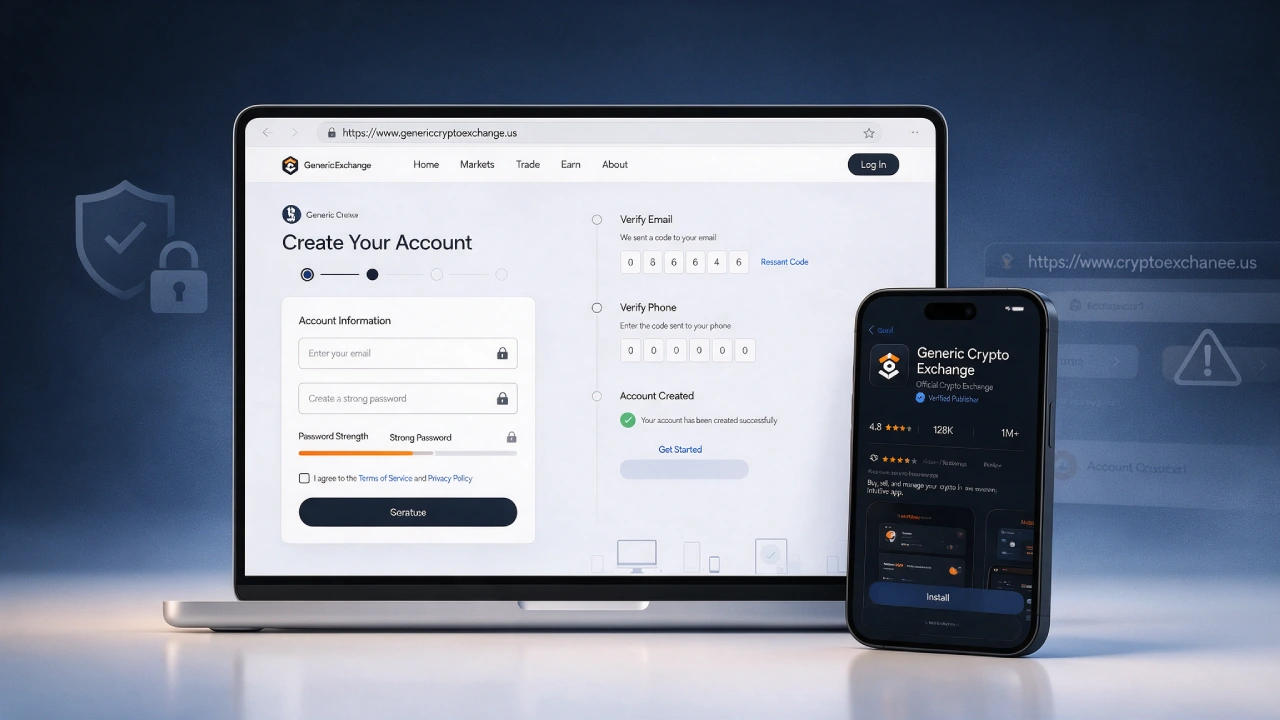
Start with the official source. Type binance.us directly into your browser, or search for “Binance.US” in the Apple App Store or Google Play and confirm the publisher is BAM Trading Services. Fake apps and look-alike websites do exist, and they’re built to steal login details.
When you register, you’ll enter an email, pick a password, and confirm a code sent to your inbox. Then you’ll add your phone number.
A quick word on passwords. Your exchange account will soon hold real money, so treat the password like the one for your bank. Make it long, make it unique, and don’t reuse it from your email or social media.
Step 2: Get Through Identity Verification Without Delays
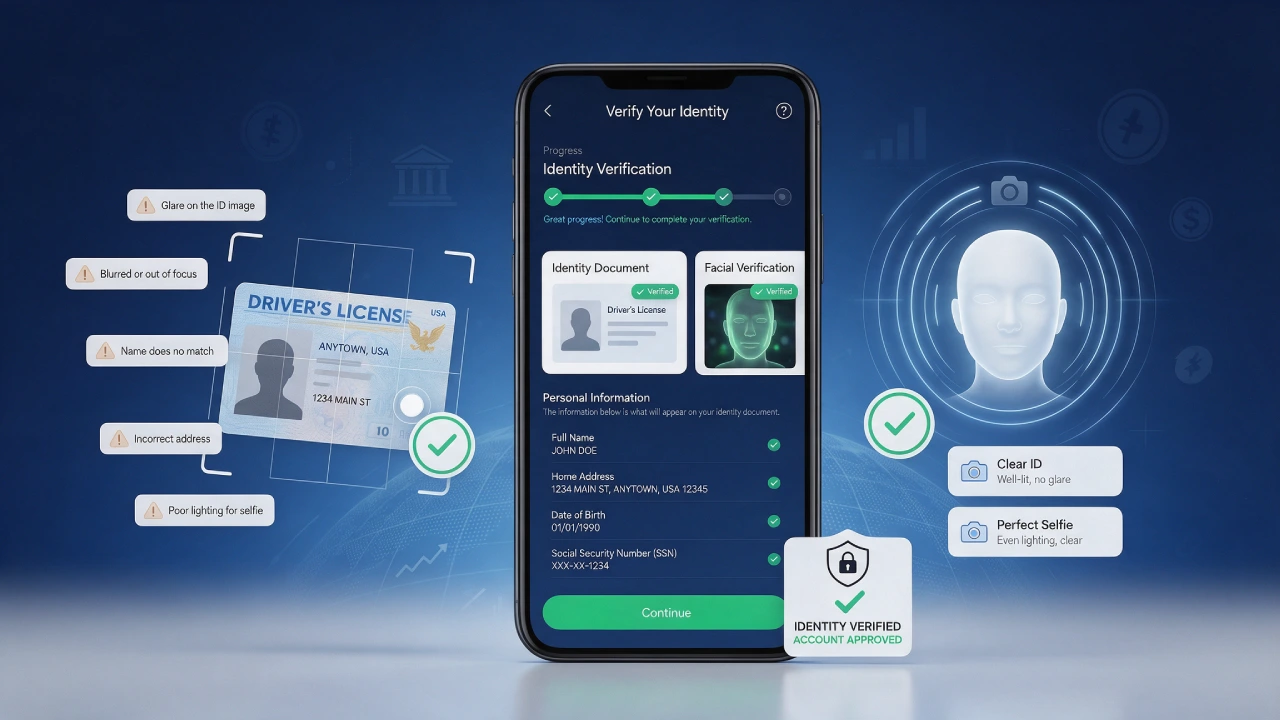
Every regulated US exchange has to verify its customers. Binance.US will ask for your legal name, date of birth, home address, SSN, and a few questions about your job and why you’re opening the account. Then you’ll photograph your ID and take a quick selfie.
Most people are approved almost immediately. When verification drags on, it’s usually for one of a handful of reasons.
| Problem | Likely Cause | How to Fix It |
|---|---|---|
| ID photo rejected | Glare, blur, or cropped edges | Retake it on a dark, flat surface in natural light |
| Name mismatch | Nickname or missing middle name | Enter your name exactly as printed on your ID |
| Address flagged | New address not on file yet | Use the address that matches your official records |
| Selfie fails | Poor lighting or hat and glasses | Face a window, remove accessories, hold still |
| Stuck in “pending” | Manual review | Wait 24 hours, then contact support through the app |
Step 3: Lock Down Your Account Before Adding Money
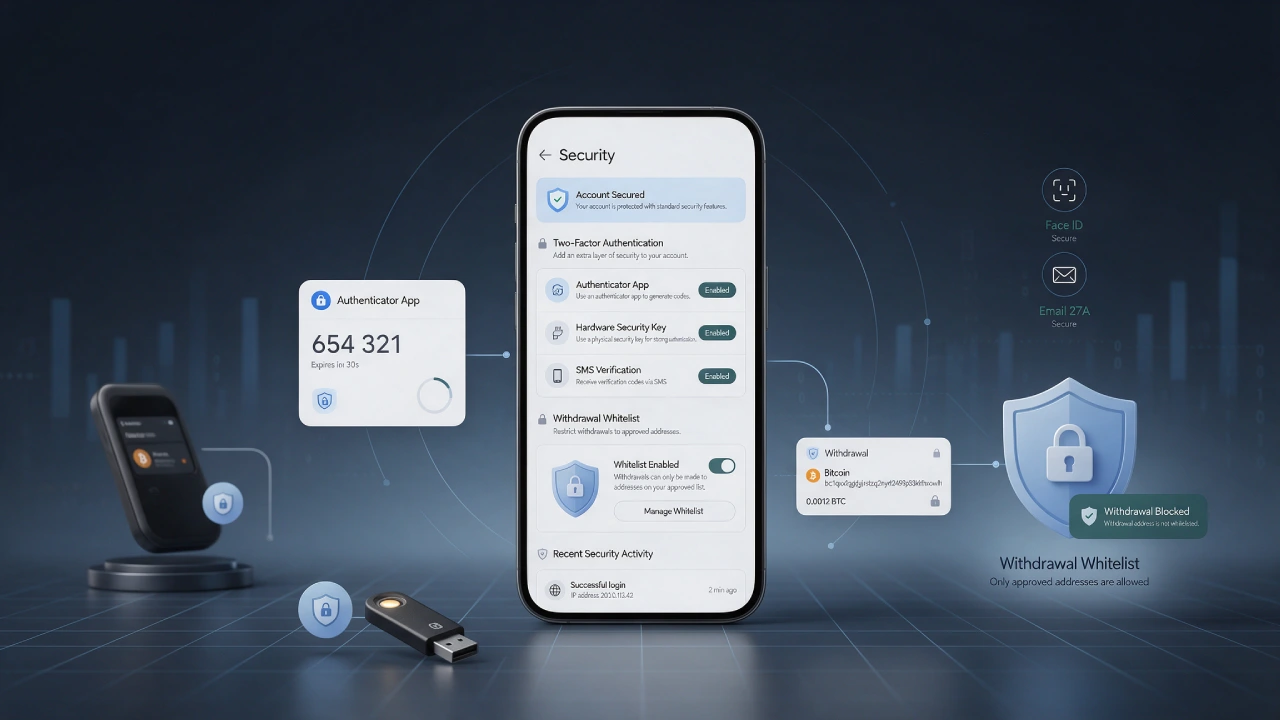
This step is easy to skip because nothing forces you to do it right away. Don’t skip it. Once your account holds funds, it becomes a target.
Open Profile, then Security, and set up two-factor authentication. You have a few choices, and they aren’t equally strong.
| Protection | How Strong | Our Take |
|---|---|---|
| SMS text code | Fair | Better than nothing, but phone numbers can be hijacked |
| Authenticator app | Strong | The best everyday choice for most people |
| Hardware security key | Strongest | Worth it if you plan to hold a large balance |
| Withdrawal address whitelist | Extra layer | Only lets crypto go to addresses you’ve approved |
Turn on the withdrawal whitelist as well. Even if someone gets into your account, they won’t be able to send your Bitcoin to a wallet you haven’t approved in advance.
Step 4: Put Dollars Into Your Account
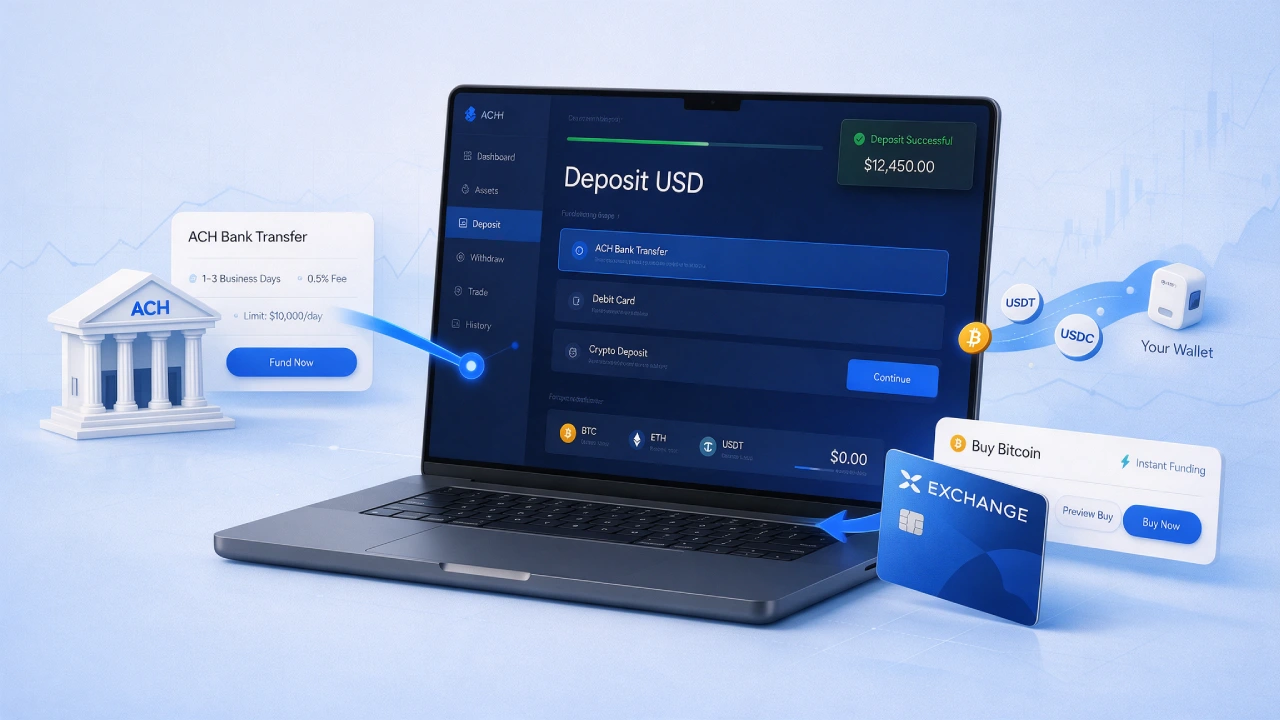
Binance.US brought back US dollar deposits and withdrawals in 2025, so funding your account from a bank works again. You have three realistic routes, and the right one depends on how fast you want to buy and how much you care about fees.
Linking Your Bank Through ACH
Choose Deposit, select USD, then pick ACH. You’ll log in to your bank through a secure connection screen, choose an account, and enter an amount.
ACH is the cheapest route, which makes it the smart default. The catch is patience. Transfers can take a few business days to fully clear, and newly deposited funds may be held before you can withdraw them.
Paying With a Debit Card
A debit card lets you buy Bitcoin within seconds. You pay for that speed, though. Card purchases carry a noticeably higher percentage fee than bank transfers, and on a large purchase the difference adds up fast.
Sending Crypto You Already Own
If you already hold stablecoins like USDC or USDT in another wallet, you can deposit them and swap into Bitcoin. You’ll only pay the blockchain network fee to move them over.
Which Funding Route Fits You?
| Your Situation | Best Option | Why |
|---|---|---|
| Buying for the long term and can wait a few days | ACH transfer | Lowest cost |
| Want to buy right now, small amount | Debit card | Speed matters more than a few dollars |
| Planning to buy every week or month | ACH with recurring buy | Cheap and automatic |
| Already hold stablecoins elsewhere | Crypto deposit | Skip bank delays entirely |
| Buying a large amount at once | ACH, then Advanced Trading | Keeps both funding and trading costs low |
Fees on Binance.US change from time to time, and the exchange sometimes runs zero-fee promotions on certain pairs. Check the official fee page right before you buy.
Step 5: Place Your Bitcoin Order
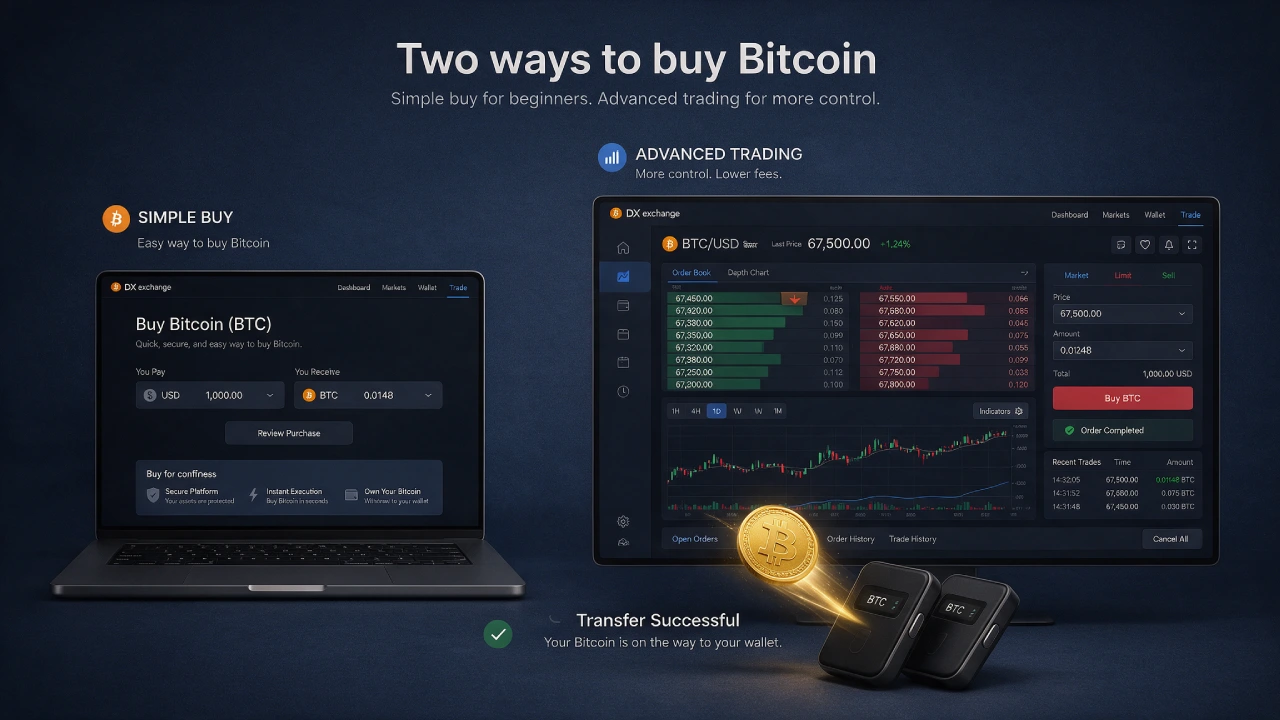
This is the part everyone is waiting for. Binance.US gives you two screens for buying, and picking the right one affects what you pay.
The Simple Screen for First-Timers
Tap Buy & Sell, choose Bitcoin, and type in how many dollars you want to spend. The app shows a quote with the price and your total. If it looks right, confirm it and the BTC lands in your wallet right away.
The simple screen is convenient, but its price usually includes a spread. That’s a small markup built into the quote rather than listed as a separate fee.
The Advanced Screen for Lower Costs
Switch to Trade and select Advanced. Find the BTC/USD pair, or BTC paired with a stablecoin if that’s what you deposited. Here you’ll see live charts, the order book, and a choice of order types.
Buying here usually costs less because you pay a published maker or taker fee instead of a spread. It looks busier at first, but you only need to understand three order types to use it well.
| Order Type | What Happens | A Real-World Example |
|---|---|---|
| Market | Fills instantly at the current best price | “Buy $200 of Bitcoin right now” |
| Limit | Fills only if the price reaches your number | “Buy only if BTC drops to my target price” |
| Stop-limit | Places a limit order once a trigger price hits | “If BTC breaks above a level, buy in automatically” |
A useful habit for beginners is to place limit orders just slightly below the current price. You’ll often pay a lower fee, and you avoid getting a worse fill during sudden price jumps.
Simple Screen vs. Advanced Screen
| Feature | Simple Buy | Advanced Trading |
|---|---|---|
| Learning curve | None | A few minutes |
| How you’re charged | Spread built into the price | Separate maker/taker fee |
| Control over price | None | Full control with limit orders |
| Good for | Your very first purchase | Every purchase after that |
Step 6: Automate Your Buying
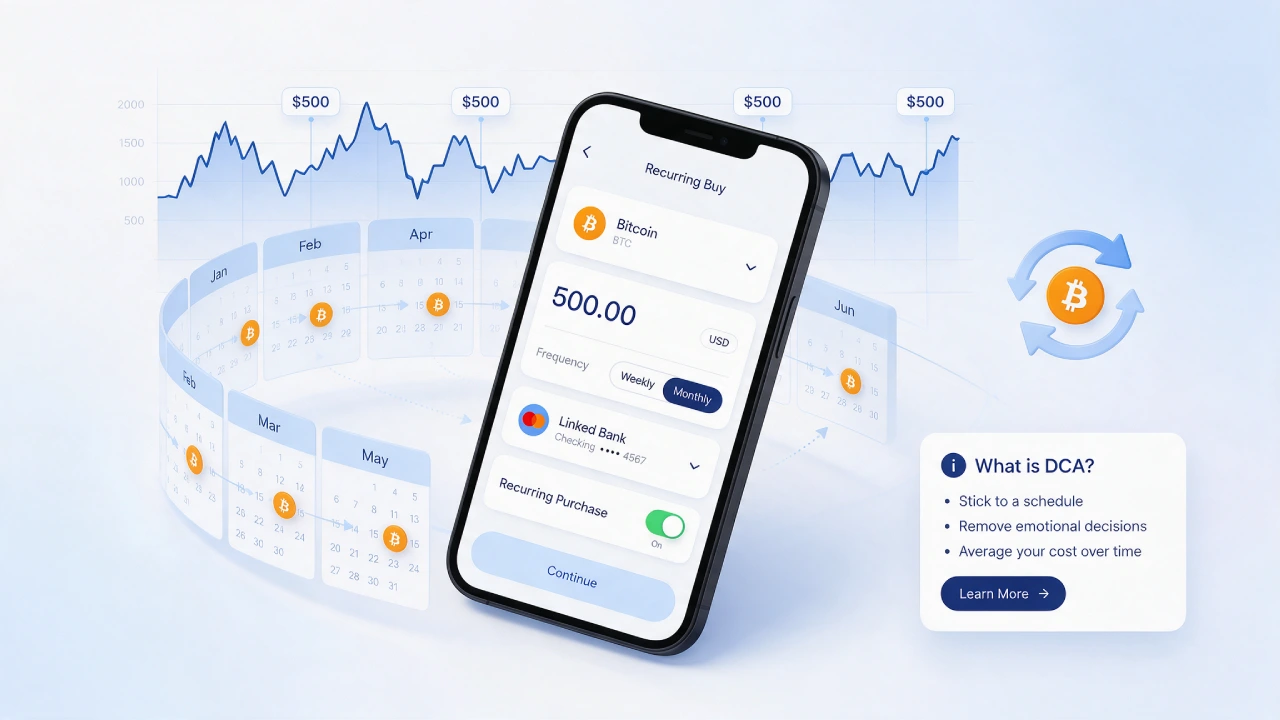
Trying to guess the perfect moment to buy Bitcoin is stressful and rarely works. Plenty of long-term holders use a simpler approach called dollar-cost averaging. You buy the same dollar amount on a fixed schedule, whether the price is up or down.
On Binance.US, open the Buy screen, pick Bitcoin, and choose the recurring option. Set an amount, pick a schedule such as weekly or monthly, and link your payment method. After that, it runs quietly in the background.
Step 7: Decide Where Your Bitcoin Lives
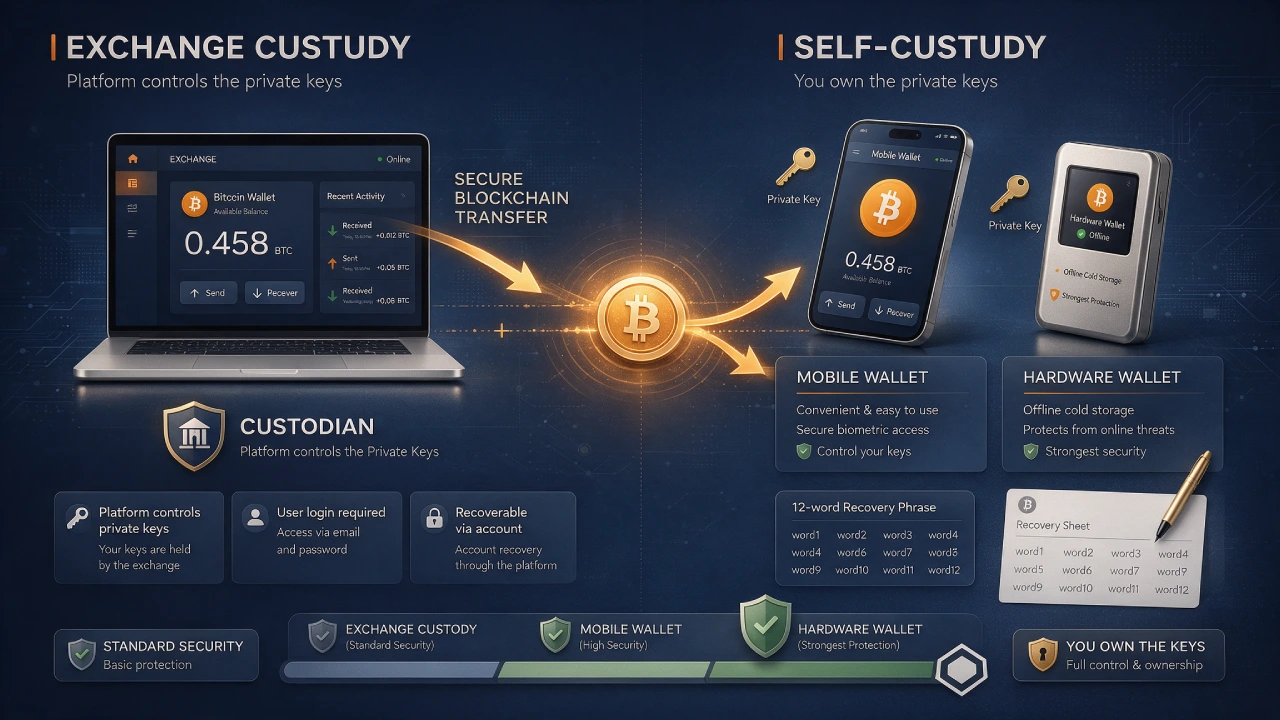
Once you own Bitcoin, you have a choice. You can leave it on Binance.US or move it to a wallet where only you control the private keys.
Crypto has a well-known saying: “not your keys, not your coins.” Coins on an exchange are held by the exchange for you. They’re easy to sell, but you’re trusting the company to keep them safe. Crypto balances aren’t covered by FDIC insurance the way bank deposits are.
| Where You Keep BTC | Who Controls It | Best Use |
|---|---|---|
| Binance.US wallet | The exchange | Short-term holding and active trading |
| Mobile wallet app | You | Smaller amounts you may spend or move |
| Hardware wallet | You, offline | Long-term savings and larger balances |
Your Pre-Withdrawal Checklist
Before sending Bitcoin anywhere, run through this list. Bitcoin transactions can’t be reversed, so one mistake can be permanent.
| Check | Done? |
|---|---|
| Copied the wallet address instead of typing it | ☐ |
| Compared the first and last few characters of the address | ☐ |
| Selected the Bitcoin network, not another chain | ☐ |
| Added the address to your withdrawal whitelist | ☐ |
| Sent a small test amount first | ☐ |
| Confirmed the test arrived before sending the rest | ☐ |
Money Leaks Beginners Don’t Notice
Most beginner losses don’t come from a price crash. They come from small, quiet costs and avoidable slip-ups.
- Always using the simple buy screen. The spread feels invisible, but you pay it on every purchase.
- Buying large amounts with a debit card. A card is fine for $50. For $5,000, it’s an expensive habit.
- Withdrawing tiny amounts often. Each withdrawal pays a network fee, so fewer, larger transfers cost less.
- Reacting to headlines. Buying after a big green candle often means buying near a short-term top.
- Forgetting about the IRS. Selling, swapping, or spending Bitcoin can create a taxable gain. Download your transaction history every year.
Questions People Ask Before Their First Purchase
Do I need to buy a whole Bitcoin?
Not at all. Bitcoin divides into tiny units, so you can buy a small slice with a modest amount of money. Most people start with a small purchase just to learn how the process works.
Why can’t I withdraw the Bitcoin I just bought?
If you paid with a recent ACH deposit, Binance.US may hold withdrawals until the bank transfer fully settles. This protects the exchange against reversed payments. The hold usually lifts after a few business days.
Is Binance.US regulated?
Binance.US operates under state money transmitter licenses and follows federal anti-money-laundering rules. That’s why it requires identity checks. Regulation reduces some risks but doesn’t remove them, so good personal security still matters.
Can I buy Bitcoin on Binance.US with a credit card?
Binance.US focuses on bank transfers and debit cards. Even where credit card payments are possible on other platforms, they’re usually the most expensive option and your card issuer may treat them as cash advances.
How do I sell my Bitcoin later?
Reverse the process. Sell BTC for USD on the simple or advanced screen, then withdraw the dollars to your linked bank account through ACH.
Your Next Move
You now know the full path: sign up, verify, secure your account, fund it the cheap way, buy on the advanced screen once you’re comfortable, and store your Bitcoin where it makes the most sense for you. Start with an amount you’d be fine seeing move up or down, since Bitcoin’s price can change quickly. Once your first purchase is done, the next one takes only a few taps.
This guide is for educational purposes and isn’t financial, legal, or tax advice. Cryptocurrency is volatile and can lose value. Research carefully and consider speaking with a licensed professional before investing.